I began the game again from the beginning as I had made several mistakes in my first attempt. I used the same simple scenario with a battalion of French infanterie légère attacking a British line battalion on a low ridge.
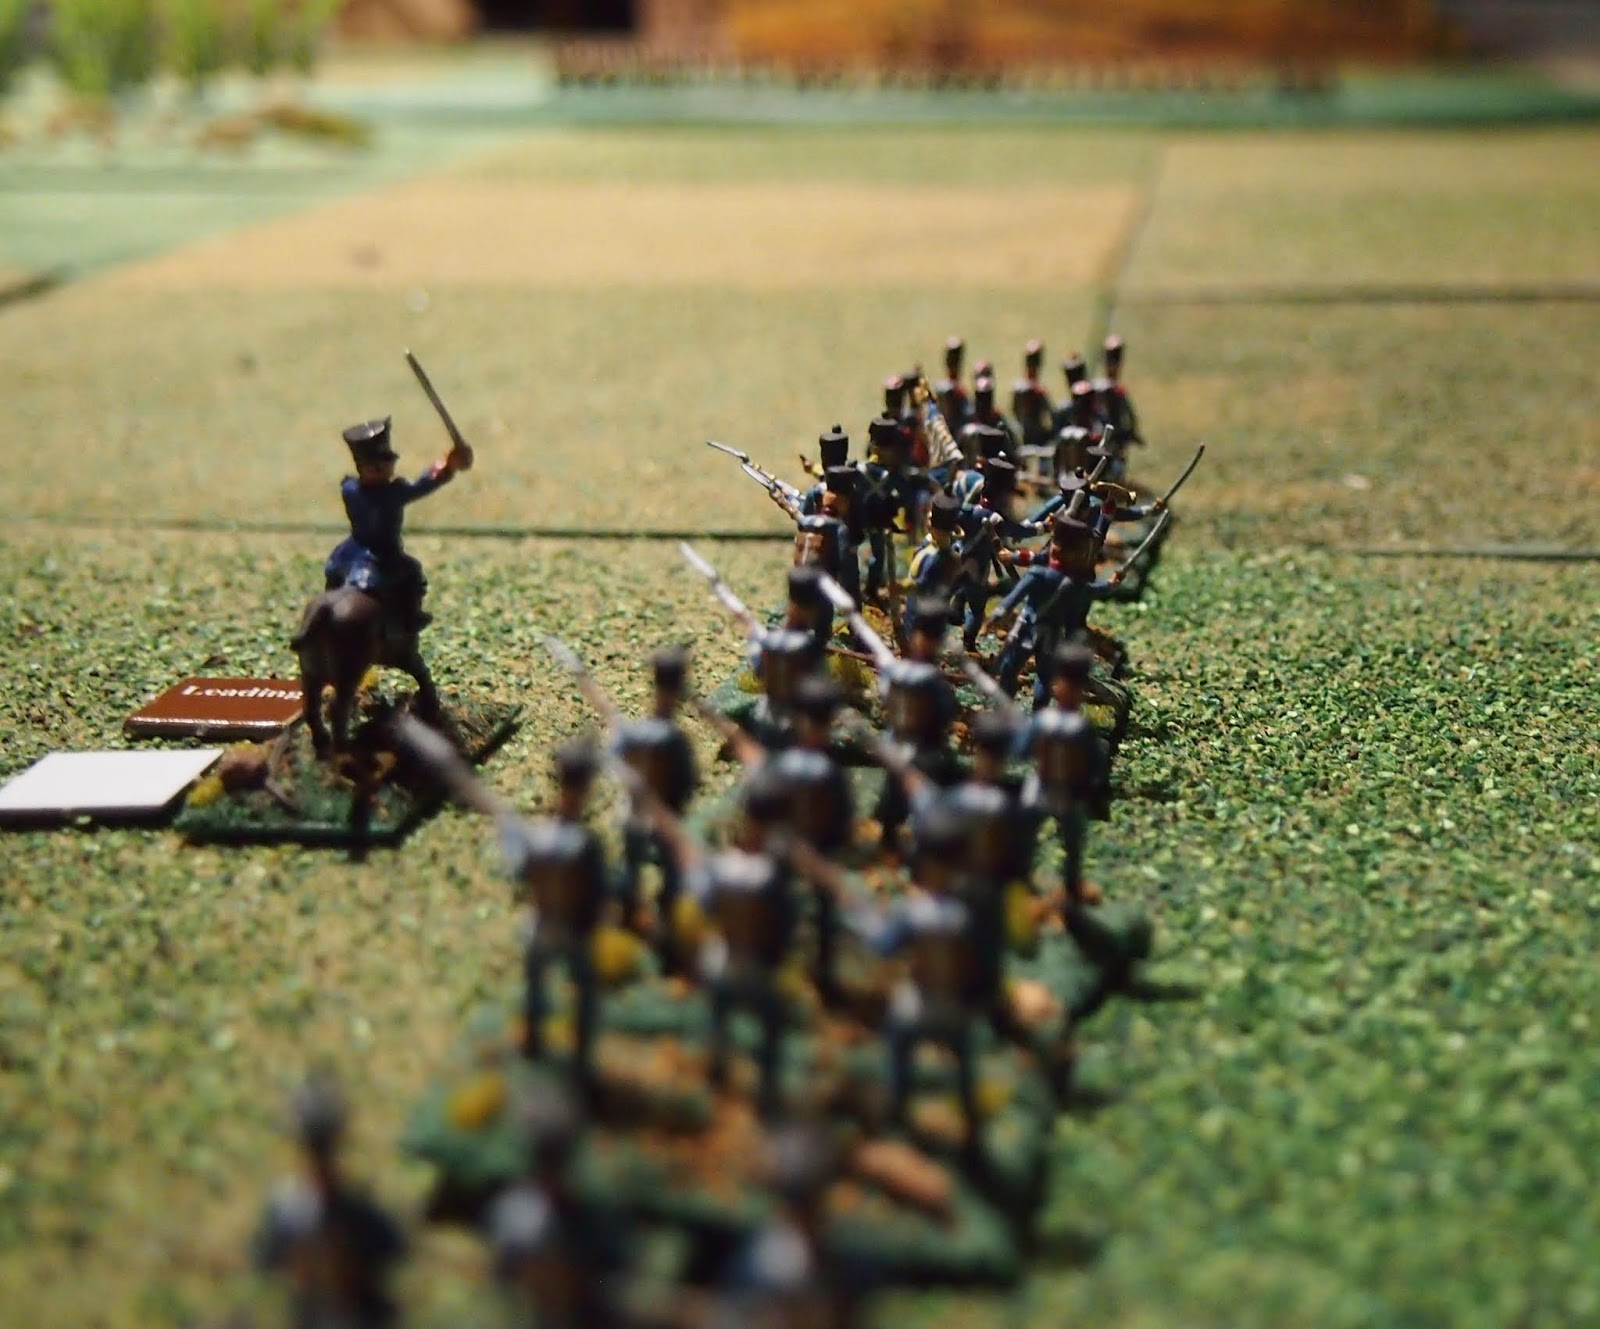
The French approach.


The British wait.
A 'formation' (battalion or lower for infantry) needs to activate on each turn, with the chance (generally and greatly) increasing in subsequent turns for the same order. At first this sounds like a huge pain in the proverbial, but it actually works really well, to manage time and to build tension, particularly when it comes to firing, as we'll see later.


Change formation to attack column duly executed.


The British continued to wait and to hold fire.

To provoke them, the French voltigeurs advanced and fired (while the remainder of the battalion deployed into line.


and a steady British line holding fire.


The British changed to 'fire'.

Both activated successfully as I considered this to be a continuation of the orders already acted upon.

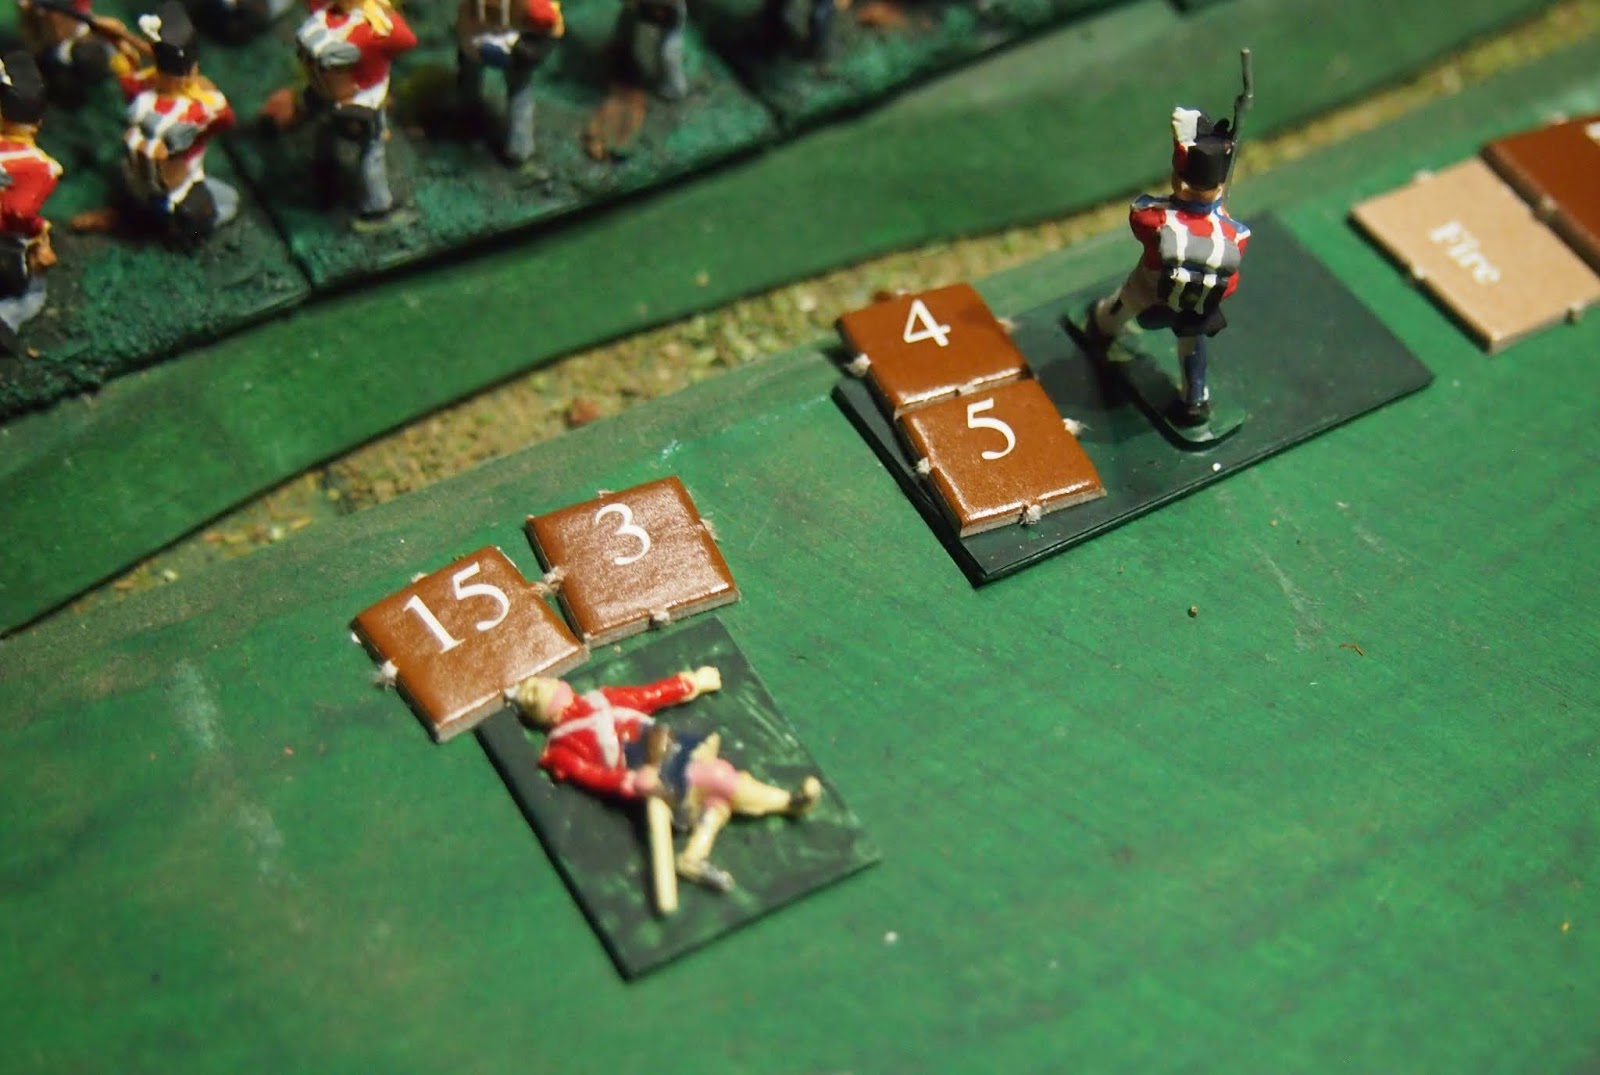
The British fire inflicted one hit per element, resulting in 20 hits,...


... which translated into a 'C' mark (represented by the dead figure from the Ykreol RIP series), plus two further hits (the two 1s) and a single 'D'. I incorrectly added half the hits as Ds, so 10 are indicated in the upper of these two photos (beside the Airfix infantryman carrying his colleague).

The French fire achieved the same result,...


Hits mean that there is a need to check for possible officer casualties.

The French colonel is fine.


To fire again, each side began back at the initial, lowest activation level.

Both failed their rolls.


Next turn, the French passed, so got to fire!

The British did not.

This time it was a 'crushing fire', so two hits per element on the British.


Next turn, the French activation was back to the lowest level, no go for them, but the British activated and got to fire. This is only came out as an effective fire.

Another turn on and it was the French who fired.

This time it was a 'beauty', with a 'withering fire'; four hits per element!


So many casualty figures, I had to utilise unpainted stuff.

I had been playing the dice as they rolled, so it was amazing how the greater luck seemed to be going to the French. As British commander I considered charging in, but decided to have one more go at firing.


Next turn, the 13th, the French fired with a 'crushing' result.


In they went, won the mêlée, with an 85% chance of victory*, benefitting from extra width of their line and as 'shock' infantry.
*I wondered about this as I typed it, but decided to trust my photos and that I had got it 'right on the night'. I had not. See comments with Peter 'Gonsalvo' below.
*I wondered about this as I typed it, but decided to trust my photos and that I had got it 'right on the night'. I had not. See comments with Peter 'Gonsalvo' below.


The French retreated the roll of two D8 dice in inches.

(This photo best-illustrates a bit of a problem, viz. the amount of flotsam and jetsam that a unit acquires over the course of a combat. The painted figures look good to me, but I'll have a think about how to show orders, Ds, Cs and officer casualties more neatly.)

I called the game at that point, content that I had a clear outcome of 'British victory'. The final photo shows to me that they will fit well with how I want to use them. This could be translated to a larger-scale game, retreating the French unit, advancing the British (perhaps allowing them to re-occupy the ridge) and adding casualties and/or disorder, depending on the higher-scale rules, to each.
I was also content that it was a sound first test of the rules with which I was most comfortable, nay, impressed and keen to use them for a larger action. The game went for 15 turns which I completed over two evenings, about five hours in total. Not bad as this included checking up on the rules quite frequently during the first few turns, and lots of stopping to take the photos included above (plus several others)!
What made the British chances of winning the melee so high?
ReplyDeleteYou are right to ask Peter, as I had done it incorrectly.
DeleteI looked at this when I did the post, but thought that I must have had it right when I did it, so did not go back to the rules (which were not handy to the computer at the time). Bit lazy and in a rush to post the post.
The chance for victory was 65% by the way that I calculated it. French minus three for casualties (Cs), British minus four for casualties, but up two for enfilade and up one as 'shock' infantry. That gives a difference of two steps (three points) on the ACE 'computer' (ready reckoner), with 5% per difference per point giving a 15% addition to the 50;50 starting point (base 50% chance of victory). By this the British actually lost with an 80 roll! On the night I mixed up the 'to win' roll by looking at the less than 100% victory results line, so thinking that 80 was okay.
In fact I got it even more wrong as the width modifier is for more than four elements, but the British were four wider, so it was actually at 50:50 mêlée. Either way, a roll of 80 means British lose, French roll, take the 25 and the result is the same--in reverse!
Just as well it was only a solo playtest and not a 'for sheep stations' actual wargame (ha ha)!