Thursday, 23 May 2024

Uniform the Cacciatori del Nizzardo—solved thanks to Jonathan and Ludovic

Ever have one of those occasions when you go around and around looking for a piece of information about a unit, campaign, person or some detail that you absolutely 'need'; and get nowhere?

So it was for me recently trying to find information about the uniform of the Cacciatori del Nizzardo (also known as Cacciatori di Nizza, chasseurs niçois, or Nice Light Infantry).

Spoiling the punch-line of this post, here's the image sent to me by Jonathan,

...and the one from Ludovic.

As part of my massive 'conversion from painted to unpainted project’ I have decided that the figures that I have gathered for the army of the Kingdom of Sardinia in 1796 will be amongst those to be based and undercoated for more immediate attention.

The first steps along the path for me when allocating figures to units are ‘definitive’ orders of battle. This has involved many hours spent on some enjoyable delving into my books and saved pdfs as well as searching the inter-web to see if I can find anything additional and useful. Bouvier’s 'Bonaparte en Italie 1796’, a free download from the marvellous archive.org that I saved a few years back, has been a real boon that has filled lots of the gaps left in Boycott-Brown’s excellent ‘Road to Rivoli’. 

The main actions involving units from the Kingdom of Sardinia*, often referred to as the Piedmontese, were the Battles of Millesimo–Cosseria, Ceva, St Michele (Corsaglia) and Mondovi. A few infantry were also present at Dego. The Cacciatori del Nizzardo was present at St Michele (Corsaglia) and Mondovi and had 'an excellent reputation’ (according to the informative articles by Ludovic Isnard about the Sardinian army on the Napoleon Series). The Sardinian army did not repeat it's largely successful defensive campaigns of 1792–5; the Treaty of Cherasco was signed following the defeat at Mondovi and the Kingdom out of the campaign, later to be annexed by France.

*Also called the Kingdom of Sardinia-Piedmont or Piedmont-Sardinia, or even Savoy-Piedmont-Sardinia

Books about the Sardinian army of this period are difficult to come by.

Back in 2020, when I first thought about producing an army for the Kingdom of Sardinia during Napoleon's first Italian campaign, I had found a lot of useful information on the 'inter-web'. This included two posts for "IL REGNO DI SARDEGNA DI FINE ‘700” on the blog la biblioteca militare, Federico Bona’s website, Napoleon’s 1796 bloody nose and the blog The British Are Coming, as well as Ludovic Isnard's previously mentioned articles. I also have pictures of some units from Sardinia-Piedmont represented in plates in two of the more pictorial books that I have about the campaign: Tranie’s 'Napoléon Bonaparte, 1ère Campagne d’Italie’ and Mongin’s '1796-1797 : du pont d'Arcole à la Bataille de Rivoli’.

None of these featured the Cacciatori del Nizzardo.

With orders of battle settled to my satisfaction, I spent a lot of time last Sunday going around and around looking for an image, preferably, or just some information about this now 'elusive unit'. I was getting nowhere and just seemed to come back again and again to the information that I already had.

I got excited when I found this image on Pinterest (a site which I consider ‘plagiarism central’), thinking that the fellow on the right, described as an officer of the volontari cacciatori might just have been my man.

In the usual style of that site there was no mention of the original source. Once I deciphered the signature, this lead me to Massimo Brandani. I was deflated when I found that it was from a Bourbon unit (Naples/Sicily).

My level of excitement rose again when Massimo's name lead me to a book by Stefano Ales 'Le regie truppe sarde, 1773-1814’, for which he had also painted the plates. This looked to be exactly what I was after. Trouble is, it is out of print and is commanding collector’s level prices—the only copy that I could find will cost over €120 inclusive of postage to Australia. That’s just a bit too much in an attempt to find uniform details for one unit! Besides that, I think that Giorgio (do not know his surname), who did the two posts entitled "IL REGNO DI SARDEGNA DI FINE ‘700”, has reproduced all of Massimo Brandani’s images from that book.

In my internet trawling, I found that Jonathan Freitag (of the marvellous Palouse Wargaming blog) had posted some years back about painting units of Sardinian infantry in 1799. Could he, on the off-chance, happen to have any references that mentioned the uniform of these chasseurs from Nice? As well as painting beautifully, hosting marvellous games and cycling around lovely Washington state, Jon is a cheerful, helpful and generous fellow whom I have enjoyed several email 'discussions' with from time to time. I had not sent him an email for a while, so it would be good to make contact again, even if he did not have the info. that I was trying to find.

To my delight and amazement, he came back to me, super quickly and had what I had been looking for!

His reply:

You are in luck!  I have some info on this unit.

Uniform plate below but I have forgotten the source but I think the artist was Brandani. This might have been in the Ales' book you mentioned.

Some notes I have:

Tricorn was first issued but replaced by black leather helmet (as seen in illustration) in 1795.  Plate was brass.

Pants were white with gaiters until 1795 and then changed to blue with high, black shoes as shown in illustration.

Collar/cuffs/turnbacks were crimson with white buttons. Buttons show as yellow in 1814.  

REEEEE-SULT!!!

The plate that he sent sent was definitely Massimo’s work. It must be from 'Le regie truppe sarde, 1773-1814’**, unless there is another book that I do not know of.

**If anyone reading this has a copy of this book and would like to send it to me or sell it to me for a good price, let me know, hahaha!

After sending the email to Jon (and prior to receiving his reply) I thought of one further, last (?) avenue; I sent an email to the address for Ludovic Isnard linked on the Napoleon series. You never know...

Turns out I was doubly lucky!

Ludovic also replied to me in record time and sent me the second of the images above.

Actually, make that quadruply lucky as the plate that Ludovic sent not only confirmed/added to the notes that Jon had about the Nice light infantry, but also solved a puzzle that I had about the legione truppe leggiere regarding hats or caps (and blue or red lapels).

Wonderful!

Thank you so much Jonathan and Ludovic!

I am one happy, little vegemite! 😀


P.S. Coming to a blog near you

I have have not been ‘around the blogs’ in recent weeks (months), since my wargaming time has gone on the pursuits above, some painting and a game (more on that later). I want to rectify this so will be trying to catch up on my regular blogging 'haunts' and the others that I go to less often, so watch out, hahaha!!

Thursday, 21 March 2024

Murat's finest hour—Liebertwolktiz: the official report

I had declared a clear Franco-Polish victory after the initial weekend game.

We had defeated the Allied centre and left and occupied the majority of the towns that were worth victory points. I expected that Klenau's newly arrived Austrians would be 'too many to die and too few to win'. The fellas were not as convinced as I was, so played the game to a conclusion over their next two Tuesday evening sessions.

Last time we had the unofficial report from Simon, who took the role of Marshal Victor in weekend game before assuming that of Marshal Murat for the conclusion. We now have the official version from Mitch, umpire and host of the game; and more, as we'll see...

The following is how Mitch saw the progress of events. I have added my captions to his photos—so all errors are mine (JF/Ed.)!

The Battle Continued Turns 9 to 12

Simon took over the French & Steve R. the Austrians.

In the initial turns the Austrian advance, on the right, was checked by the powerful gun line of the French, supported by the embedded Infantry.

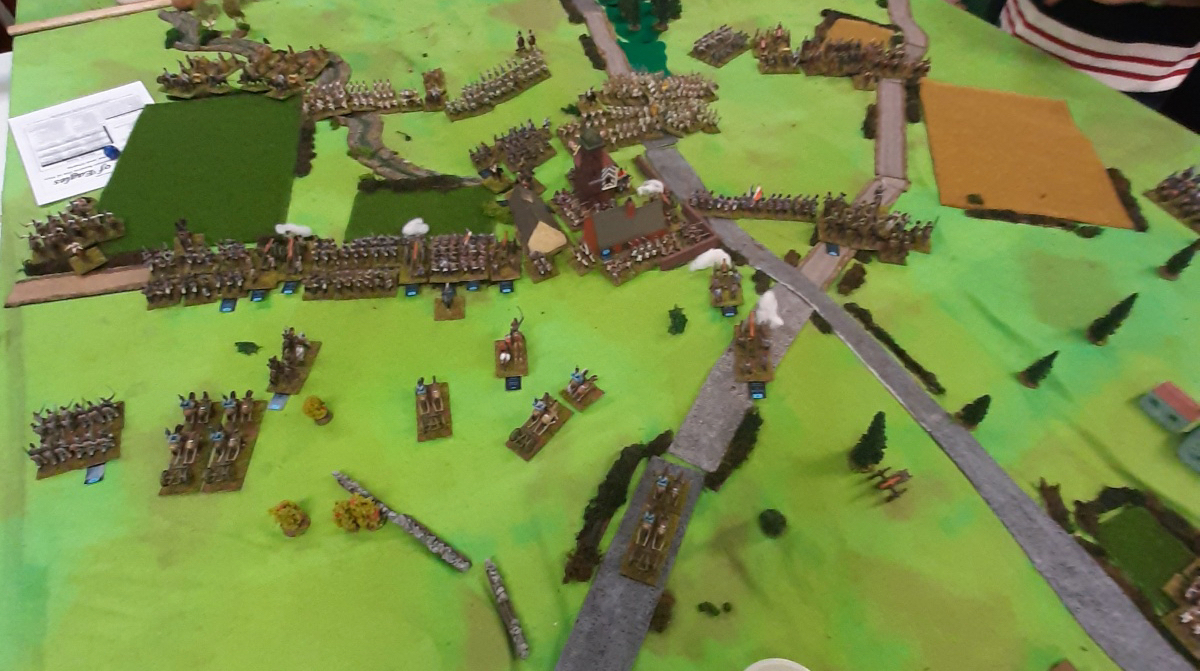
Opening moves and artillery cannonade.

The heavy cavalry on the Austrian extreme right surged ahead of the main attack. First it drove off a small brigade of chasseurs & after a few turns delay, waiting for the main attack to make more ground & the numerous artillery to come up, charged the disordered Infantry on the far left of the French line. The initial charge was successful but a follow-up crashed into a line of squares & was sent reeling. The kürassiers almost routed off the field, but managed to rally & would return for a last hurrah in the closing moments of the battle.

On the Austrian left the large brigade of élite light cavalry was out-fought by the smaller brigade of chasseurs, thanks to a poor manoeuvre roll, & fell back to the base line.

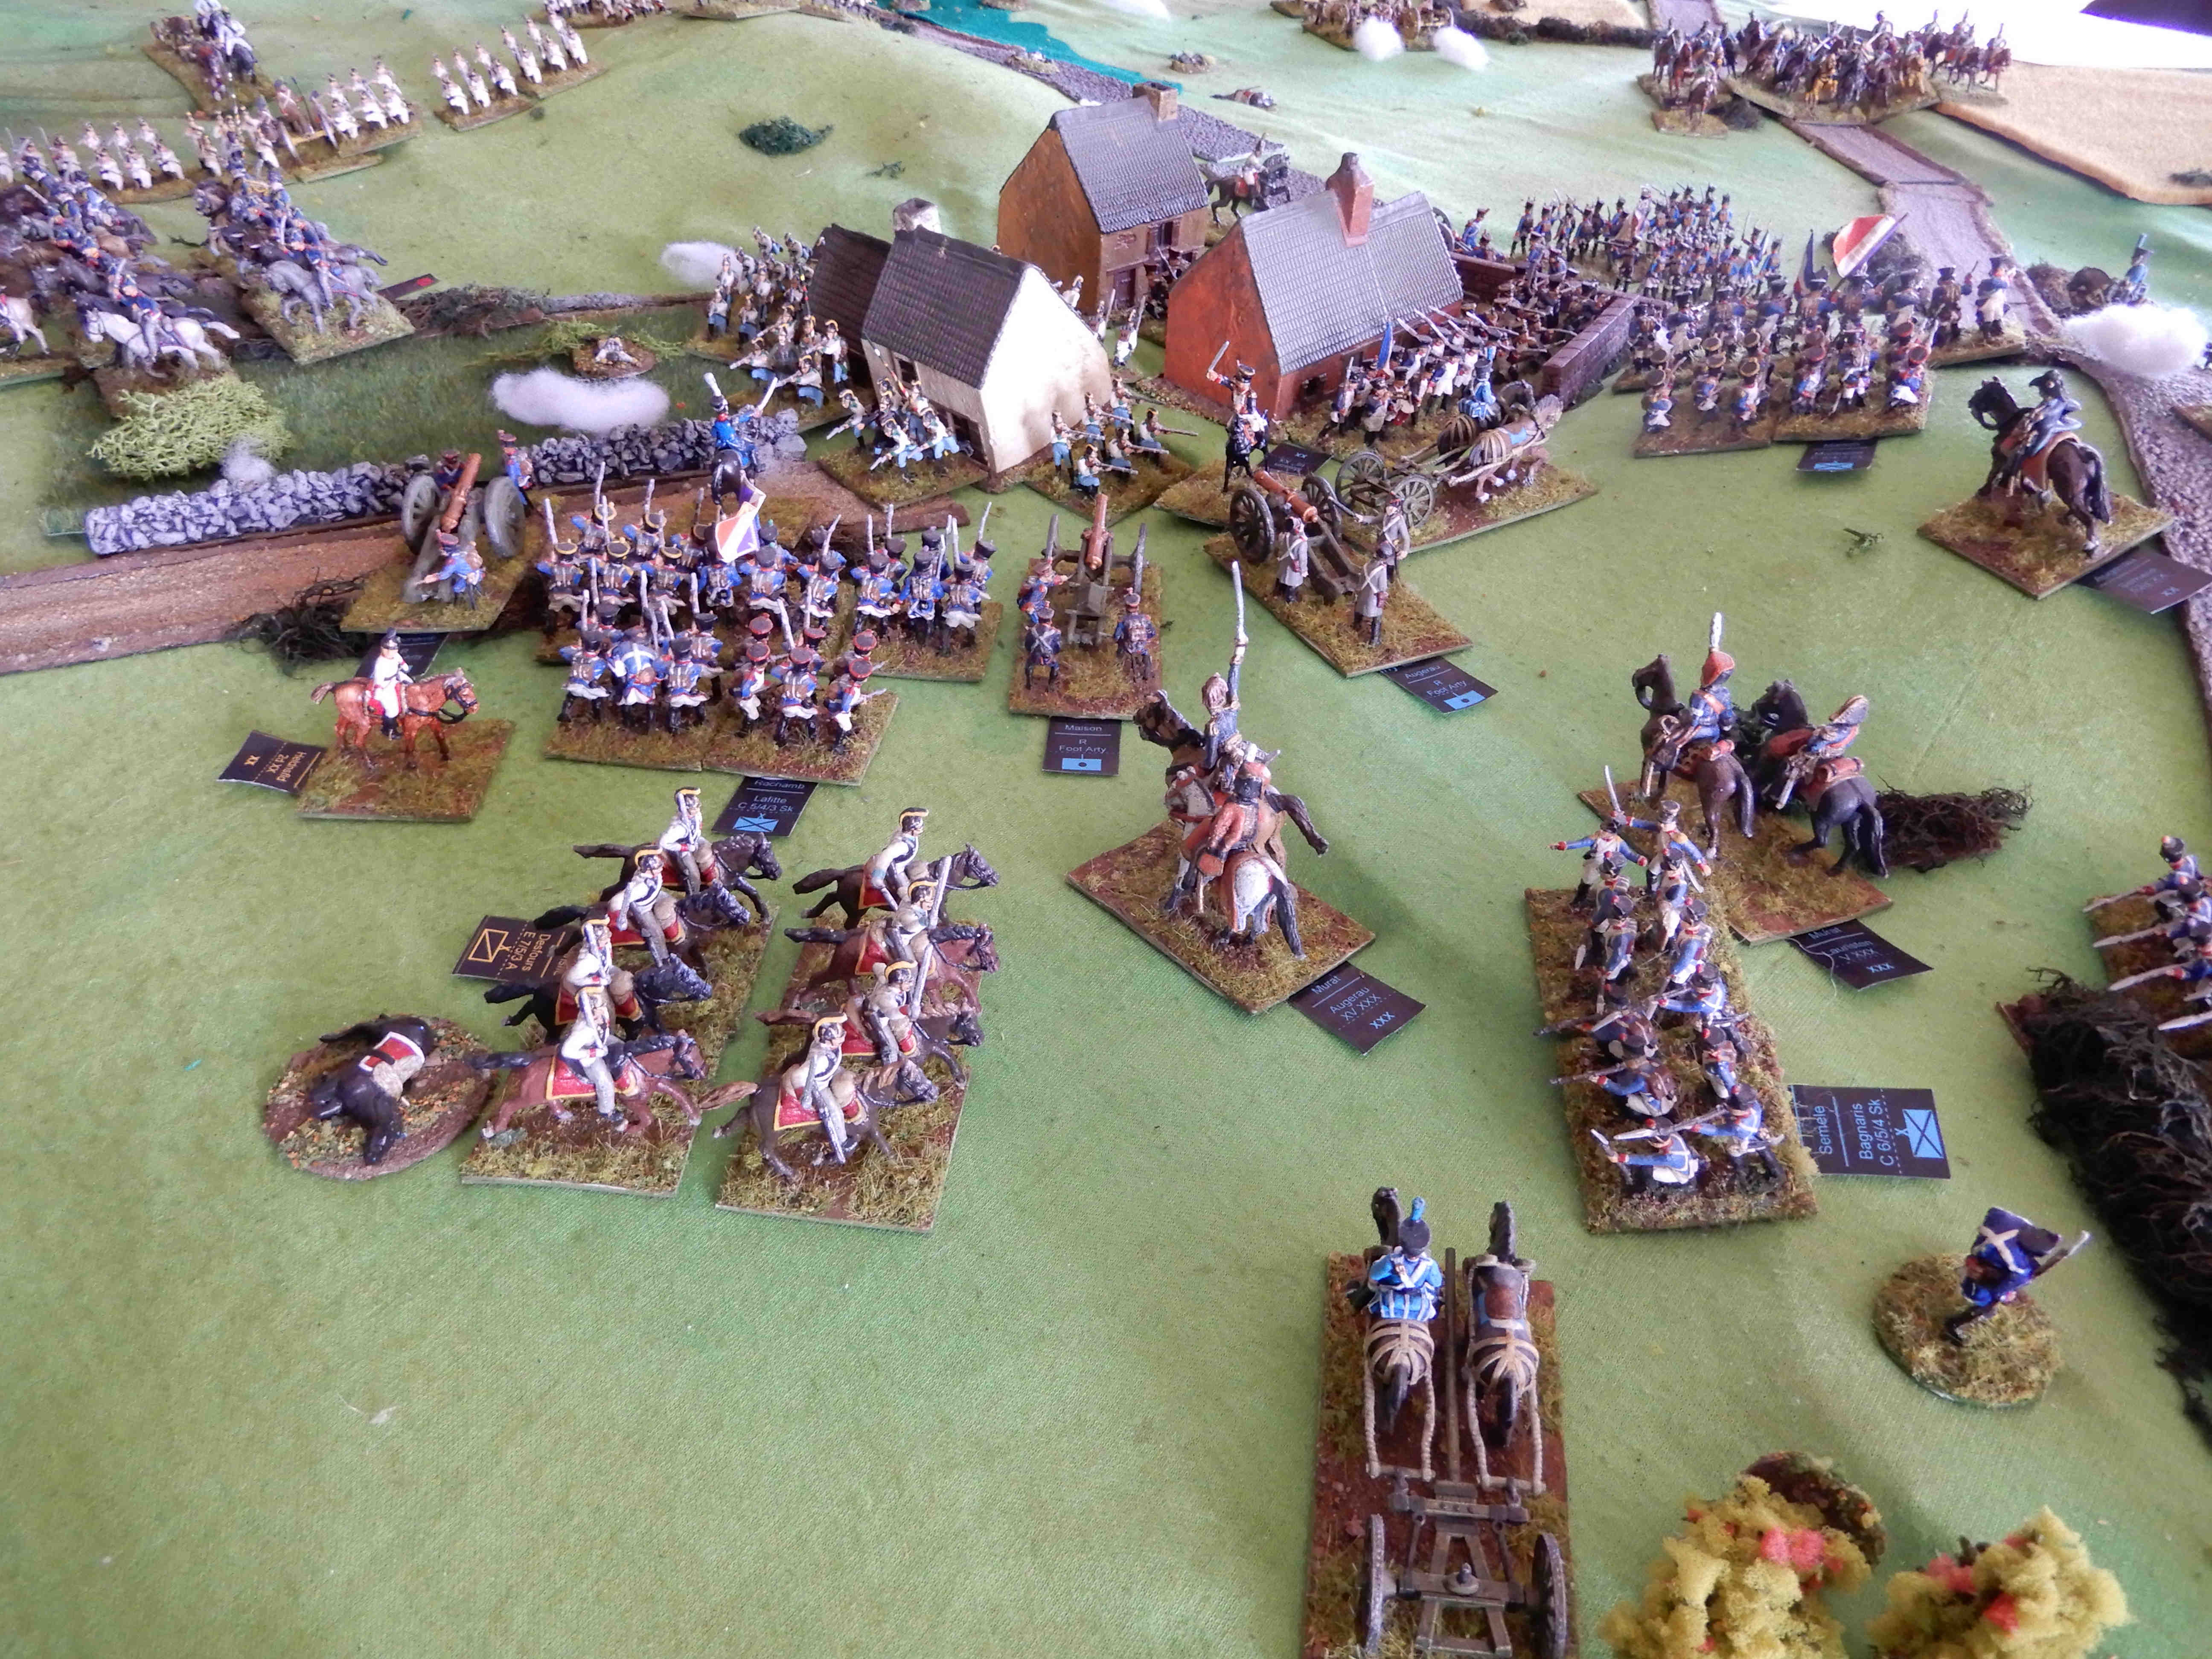
Smaller brigade of French chasseurs à cheval (some heavily disguised as Prussian freiwilliger jäger; I think) bested the larger brigade of Austrian chevy-lègers and hussars (who need to learn to roll better).

However the accompanying Grenzer brigade advanced almost unnoticed & launched a charge into the flank of two of the batteries guarding the town [Liebertwolkwitz, Ed]. The batteries were overthrown & the victorious troops broke through into the town & ejected one of the defending brigades.

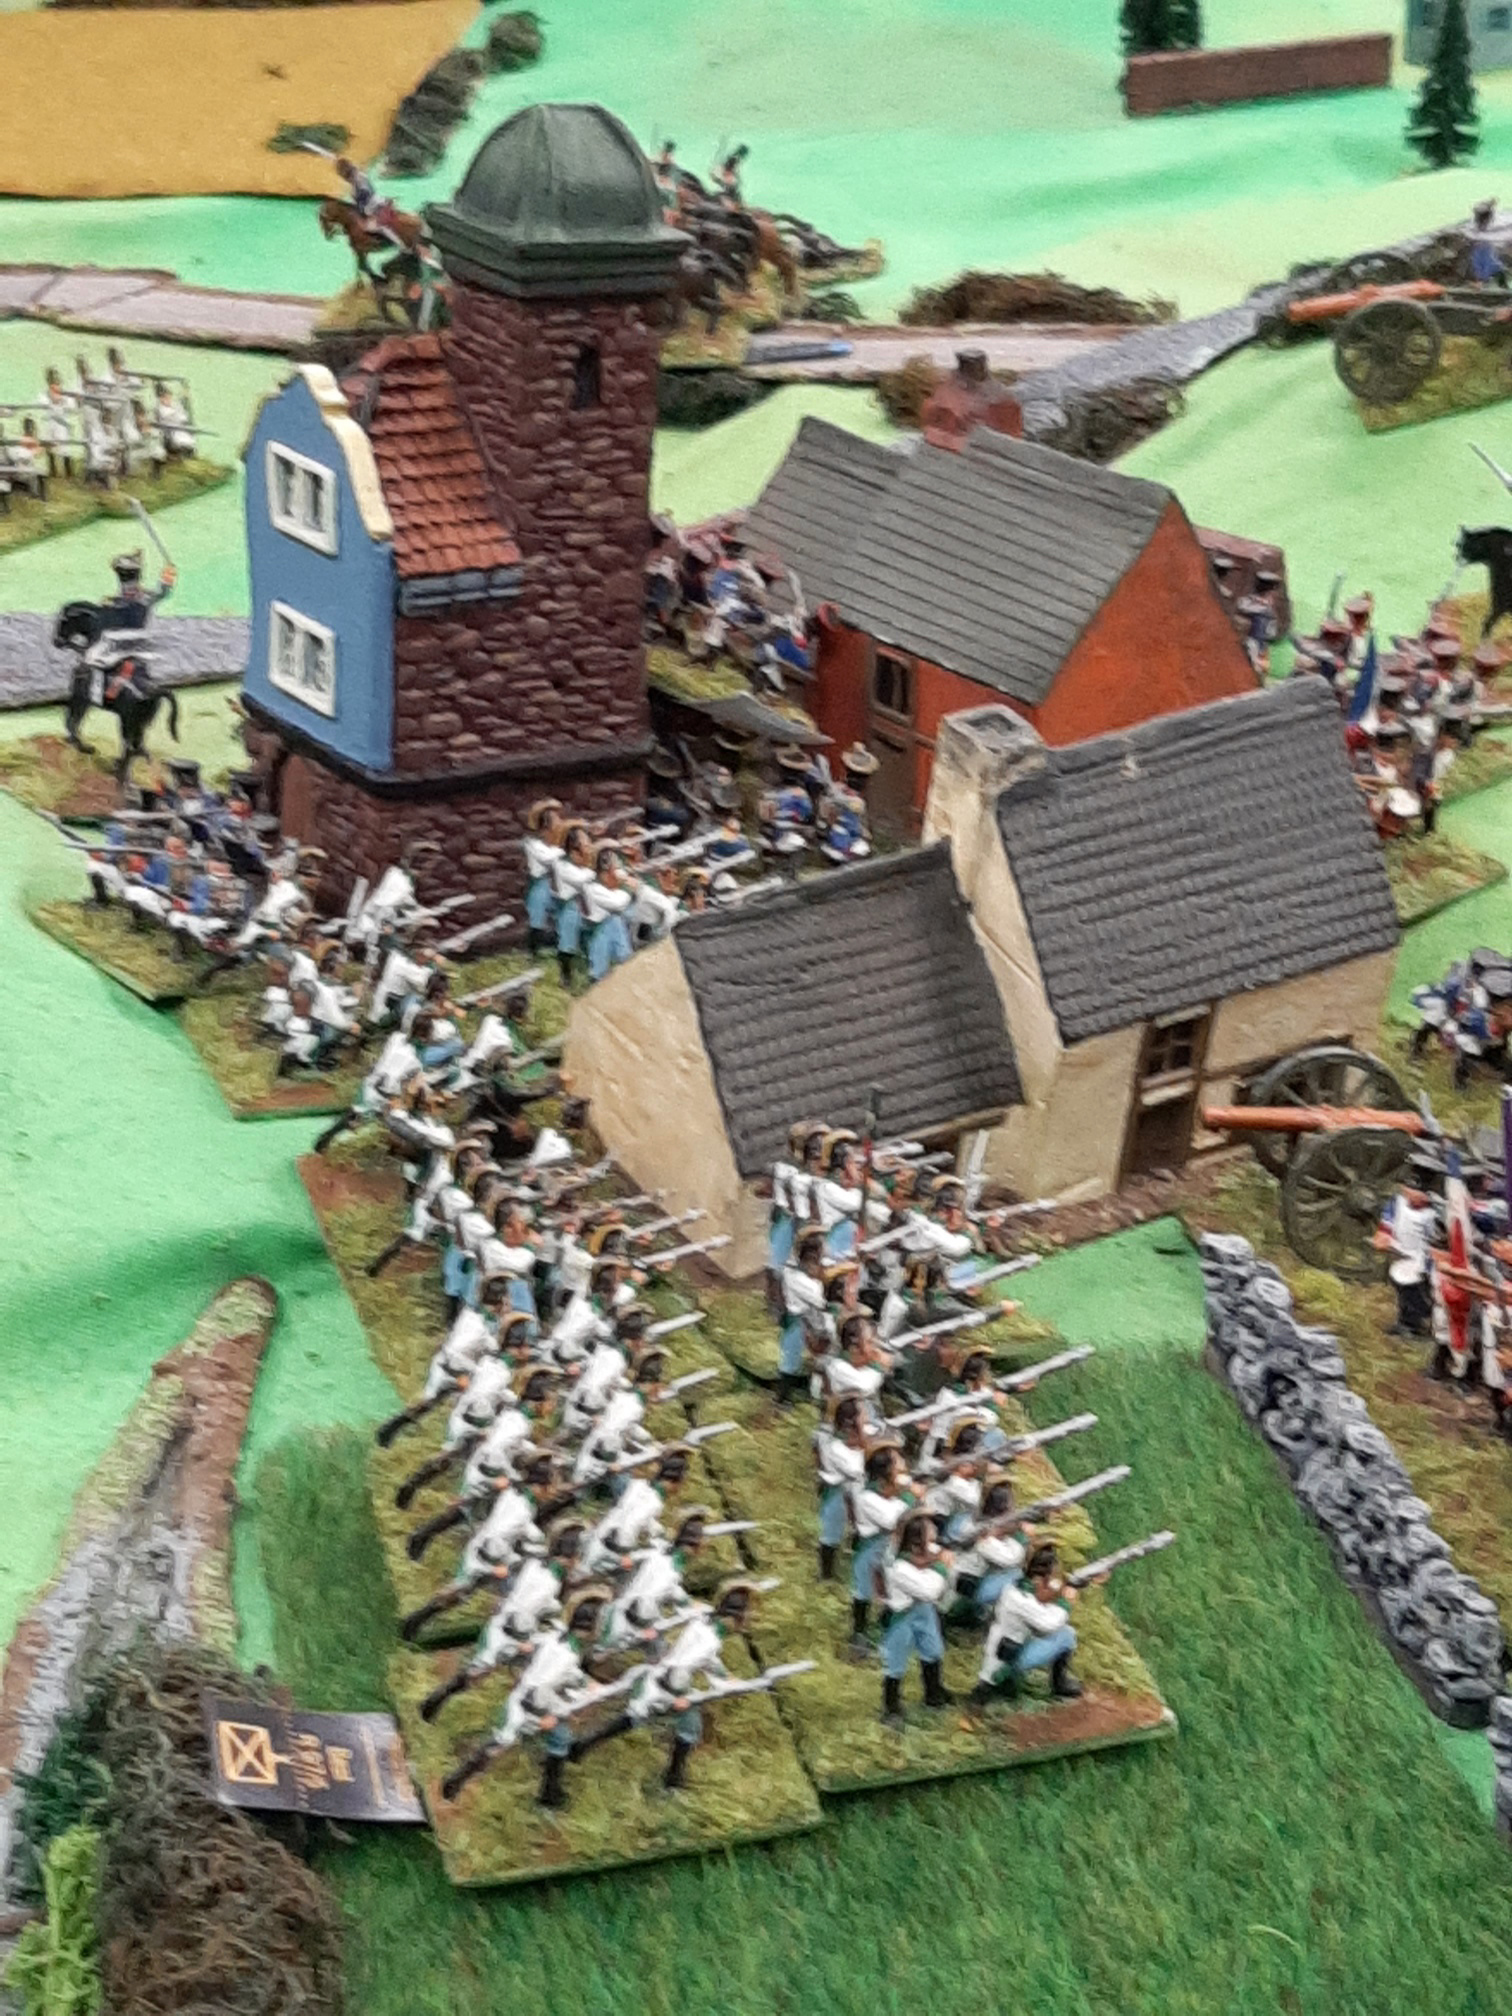
Overview of the battlefield, with Grenzer brigade in the centre poised to attack and enter Liebertwolkwitz.

The French immediately counter attacked but could not dislodge the Austrians.

But slow consolidation by the Austrians allowed the French to organise another attack & throw the border troops out of the town.

After this the Austrians continued to pressure the town but had trouble clearing the approaches of one brave French Line brigade.
Austrian pressure on Liebertwolkwitz. French brigade stoically holds to one sector.


Eventually the Austrians fought their way into the town & even had a chance of totally clearing out the French, but yet another counter-attack reduced their holding to a foothold in one sector.

At this point with most of the Austrian Brigades reduced to worn status & the French holding easily, with the prospect of reinforcements, Simon & Steve decided to call it a draw.

The weekend came around & I was about to pack the game away but had an inspiration. I would play out the remaining turns to see what would happen.

The Umpire Takes Over (I can’t lose) Turns 13 to 18

The King of Naples’ promised reinforcements are slow to arrive & the large cavalry & artillery force of the Austrian Advance Guard division finally scores a victory against the defending chasseurs, but not until the plucky Frenchmen rout one of the Austrian brigades attempting to envelope the town. The French are beaten back but a slow follow-up allows the late arriving Polish lancers to parry the assault.

Meanwhile in the centre the Austrians regroup & throw in several more assaults. Unexpectedly, these succeed & the French are reduced to holding one sector of the town.

Things are looking a little dicey for Murat as the enemy ‘grand battery’ is weakening his stretched left, wrecking batteries, with the still potent kürassiers preparing a charge.

In the centre Murat has not the strength to eject the, now entrenched, Austrians from the village.  So, he has concentrated his artillery there & is attempting to blast them out, or at least weaken then enough for another charge.

His one chance is to push back the Austrians that are enveloping the village from the (French) right & develop an attack there. To do this he draws reserves from his left/centre & makes use of the reinforcing Polish lancers.

The Poles prove devastating. First they throw back the Austrian Advance Guard cavalry. 

First charges of the Polish uhlans (heavily disguised as Prussian uhlans and hussars since my Polish uhlans had come home with me to receive their final touches of paint).


Then, before The Austrians can rally, charge down the Grenzers & breakthrough into the nearby infantry brigade, totally destroying it.

They are now almost behind the town. Lining up the remaining Austrian infantry.

Now would be the time for the still fresh Austrian hussars to charge into the rear of the Poles & send them back to Warsaw. But the Austrian brigadier saw things differently. The Emperor would need these hussars to cover the retreat from this, now surely lost, battle. So a cautious advance is called for instead, making sure the flanks are covered (rolls a '1' for manoeuvre).

With no interference in their rear the Poles continue to charge. Their final target is the large brigade occupying a sector of the vill’ [Liebertwolkwitz, Ed]. As this unit is so large less than half of its troops can occupy the buildings, so it is still considered to be in the open verses the lances of the Poles. Another successful charge sees it thrown back & chased, in the gathering gloom, across the front to the stalled Austrian right.


Emulating Los Diabolos Polacos!

Appropriately ending in the teeth of hell!

The Hungarians are the last brigade holding the town. They are pounded by three batteries at point blank range then charged by two French brigades. But they hold out, & as night has now fallen, the battle is over. 

Only one Hungarian brigade holding on in Liebertwolkwitz.

But no one told the kürassiers. They launch a final charge into the spent French left.

Last hurrah to the Austrian kürassiers.

Two brigades are sent packing & the heavy horse almost reach Murat's command post, however darkness now descends, mercifully shrouding the scene from more violence.
Austrian kürassiers at the end of their charge, almost reaching Murat's HQ (that marshal heavily disguised as Ney, since my Murat command stand had also returned home with me).

A dramatic end. I probably pushed the troops beyond that is reasonable (the Polish lancers charged for three turns in a row).

The vast variability of the dice had a large effect, with a couple of ones (the hussars & the final French charge) shifting fate in unexpected directions.


Thanks Mitch!

That was an exciting end, with some real twists. It was great to see the Polish uhlans continue to have a strong impact (and continuing to roll well)!

The final assessment (JF/Ed.)

The stoic defence of Liebertwolkwitz reported here and in Simon's earlier account, along with the earlier success in the centre and defence of the west, confirmed this as Murat's finest hour. Buoyed by this success, the Emperor eagerly awaits the coming confrontation with the Allies.

But, that is another story...
(To steal, no temporarily use, that fine sign-off of Phil from Les Riflemens!)

Such a counter-factual will have to wait until some time in the future. Deep into the future, methinks.

Thoughts on the rules

Age of Eagles (2nd edition) were Mitch's chosen rules for this game. They would not have been mine.

We had a great game, chiefly because of the group of people involved, the sensational figures and terrain. The rules are simple enough to understand and to use and we were quickly able to 'run ourselves' only needing Mitch's input to adjudicate anything 'tricky'. In fact Steve R. and I were going so well at the western end that we almost got an entire turn ahead of the rest or the laggards!

As a pure game, I'd use them again if Mitch and the Serpentine fellas want to, but keeping clearly in my mind that it's purely for a game that looks good plays well and is only a bit like I'd envisage a Napoleonic battle.

What don't I like?

Firstly, those fundamental Fire and Fury mechanics that do not sit well with me: the manoeuvre roll and the three-level status for units. Secondly the fact that the random factor (die roll) is so dominant in results. Fourthly because the rules are not well-scaled to brigade level and lastly because fundamental elements of Napoleonic warfare are not well modelled.

I want my mistakes to be my own, not because I rolled a '1' and so, irrespective of what the situation on the battlefield, my brigade refuses to move. An example of the manoeuvre roll at it's worst came on the second day of the weekend and was squarely in my favour.

I had moved two batteries up ready to unlimber in my next turn. It was a calculated risk as I needed to reinforce and to stabilise my line. Steve R's Prussian infantry were able to get close in their movement phase, but not to reach the guns. For the next turn, I needed Rob to win the initiative for the French side. On this occasion he did not. Ah well, hopefully the guns will only suffer a minor defeat and will retire/retreat limbered (a reasonable outcome and something that should be part of the specifics of an infantry v limbered artillery mêlée, but would be purely down to the dice rolls by we players). I did not need to wish for such luck, as it came in a different form.

Steve R. rolled for this brigades in his movement phase and scored a '1' for the still fresh landwehr brigade. Yeah, the fact that they were disordered did not help, but an ordered brigade would still have received a 'hold ground' result. We can dream up a story that, the exposed left flank, the look of all them guns ahead of the landwehr, cavalry threatening to their left, mobs of enemy, only being landwehr... caused them to 'think twice', but NONE of this is taken into account in the test. Simply the die roll, whether disordered, casualty 'status' and any attached or nearby senior leadership. Stupid.

The result was, my guns unlimbered, shot the sh!t out of his landwehr (because I rolled well) and... 'scratch' one landwehr brigade.

So, a marvellous victory to moi due to my superior generalship and battlefield manoeuvring? Nah. Good luck vs poor.

An example of the manoeuvre roll at it's worst: Allies win the initiative, but Steve fails the manoeuvre roll for his landwehr (centre of photo) so is unable to charge my limbered guns in front of them (left of photo). The failure was not due to the presence of my other guns and infantry, nor even of the uhlans just across the stream, but purely 'cause he rolled a '1'.
In my initiative, my two additional batteries unlimber,
...all three open fire,
and scratch one landwehr brigade.

Much of that example illustrates the predominate effect of the die roll on all combat and firing (over situation, quality of troops, morale or any other factor). There are plenty of other examples from the three reports of this game on this blog.

People who like Fire and Fury (Age of Eagles) like the fresh, worn, spent status for units. I do not. In fact, the concept has become so ubiquitous that a certain game designer who likes to incorporate mechanics from other sets of rules has included them in a recent version 2 of his set that many are besotted with.

To me it is too crude and simplistic, but then I am not after a set of rules that 'produces a game that is concluded in two to three hours'.

Age of Eagles feel and play like a set that is nominally at brigade scale, but is trying to work at battalion/regimental level. They are half-pregnant. They do not compare well with genuine brigade-scale rules such as Napoleon's Battles (which I have played numerous times) and Volley and Bayonet (which I have seen numerous reports of, I own, have read and will play as soon as I have painted some opponents for my Poles). Having read them, I will also soon be trying L'affaire d'un déjeuner (a free set of rules in four pages, plus a one-page quick reference sheet) and Valeur et Discipline (another free set, by Matt Bradley of the fabulous Pushing Tin blog). Both of these look like sets of rules for genuine brigade-scale games.

Perhaps the most glaring example of this is the way in which artillery is scaled and fired. You will have noticed all of these 'unofficial' (as Mitch termed them) grand batteries across the table/reports. This is because a battery is represented for every 6–8 guns, which gives a preponderance of artillery. I know that this was a game based on a battle from 1813, but the number of guns for the scale in the infantry was extraordinary. Add to this the fact that the fire points for artillery batteries are combined when firing and players naturally bring their (numerous) guns together to derive the greatest benefit from this.

Lastly, Age of Eagles lack much that I expect in a game-simulation of Napoleonic warfare. Skirmishers are not really represented (probably okay for the scale), the response of units (cavalry in particular) to threats or opportunities is lacking and the response of infantry to threat by cavalry is handled very strangely indeed.

So, to me, Age of Eagles are fine for a game, played in the 'right' spirit, but there are too many mechanics that do not appeal, the 'imponderable' is too dominant, they are not scaled well as brigade rules and lack much that I expect in a game-simulation of Napoleonic warfare.


Thursday, 14 March 2024

Unofficial report of final action at Liebertwolkwitz

Vive l’empereur! Les braves held firm against the onslaught of the Kaiserlichs!

As expected, the latter threw all that they could at the legions of France, but a stoic defence and well-timed counter-attacks blunted them until they ran out of 'puff’.

Our reporter on the spot, General de Division Simon de l'Èspere-Frédom, sent us his notes and sketches from the battlefield—hastily composed, but beautifully detailed and colourful.

Summary of battlefield status is that the French had stabilised both its left and right flanks after facing threatening cavalry attacks on both sides. In the centre Klenau managed to gain a toe hold in a section of Liebertwolkwitz (Austrian centre right), but was repulsed.

Austrians appeared likely to take the ville with elements from 2 divisions attacking 3 points, but Murat's troops weathered the storm (some punishing artillery fire disordering cavalry + infantry at strategic points).

At the end Klenau had to decide whether to keep pushing or withdraw to fight again another day?

Attached battlefield sketches by the author show progress. 

Austrian initial attack


Victory by elite armoured cavalry with prospect of further exploitation


French lead brigade still holding ground.


Cavalry on Austrian left threaten French right.


Massed Austrian attack takes control of a sector of Liebertwolkwitz.


French counter-attacks re-gained most of lost ground.


The official umpire's report on an entertaining game is awaited eagerly.